30.6.11

2 more.. sorry Robin, I meant 8


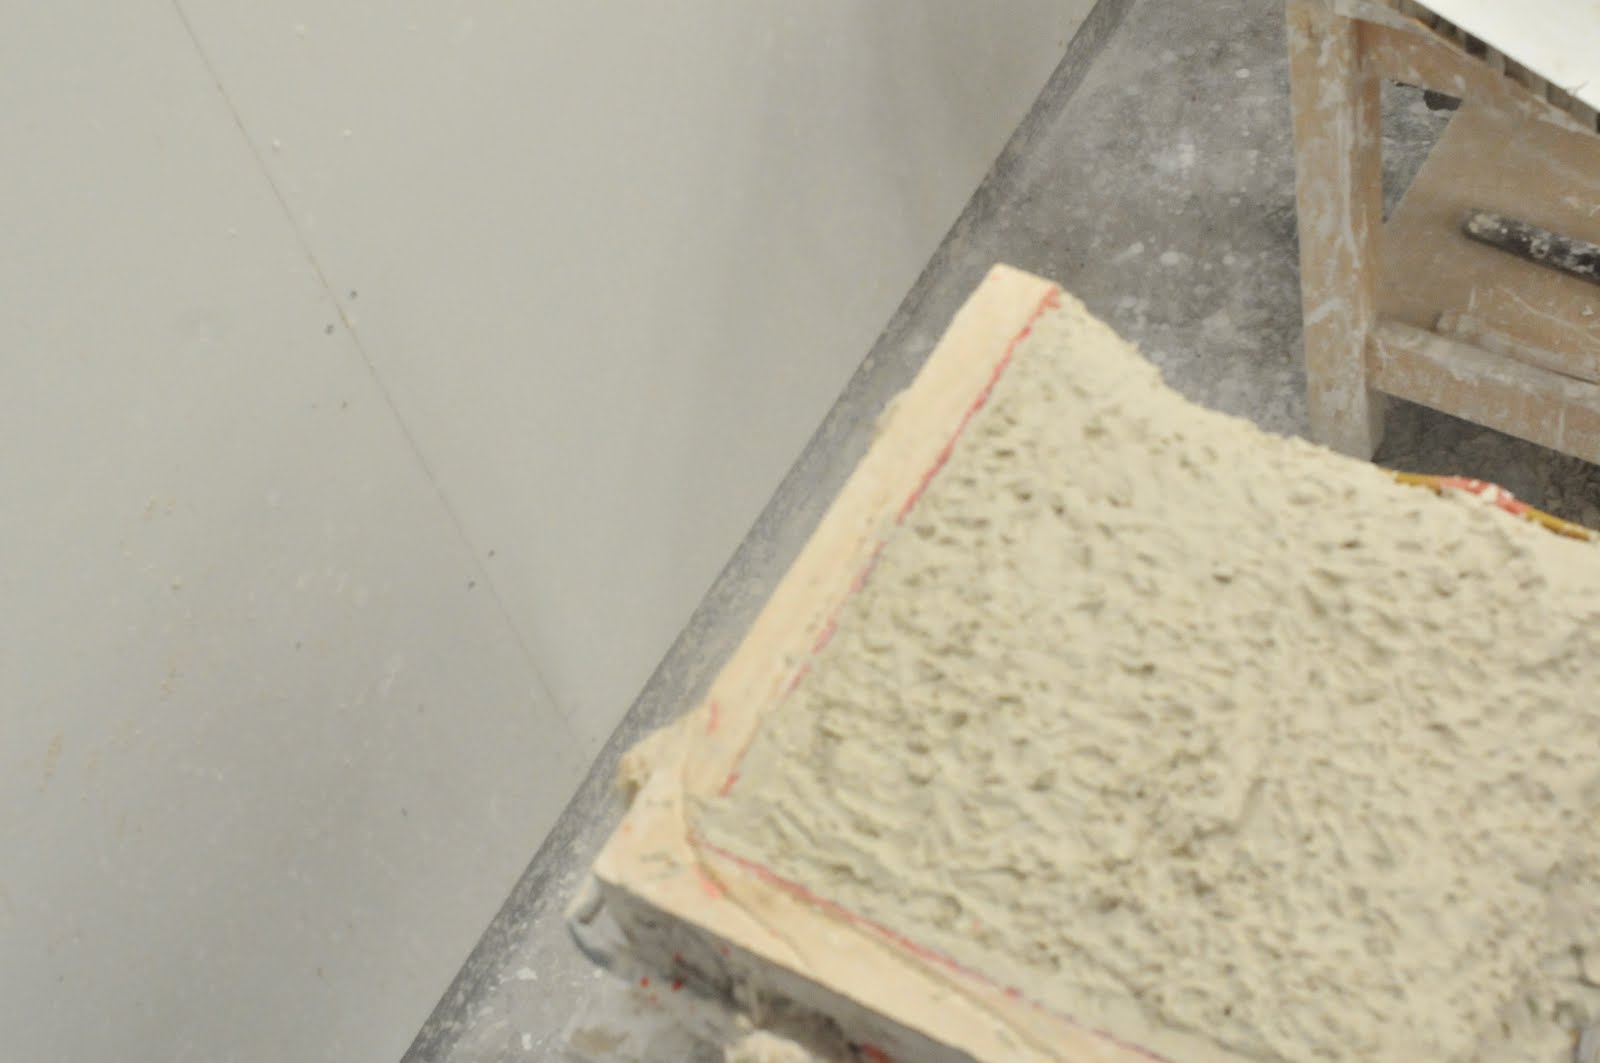
We had a chain gang going for this process. General rule: who ever piece of work it is does the nasty job; filling buckets with grog and plaster. On bucket 20, John advised me only to do two more buckets. I was relieved. 2 minutes later he broke he news to me that I had to do another 8 buckets. Desperate sobs occurred. I had to go through this process four times for each corner. This nearly killed me.

Quiet before storm


With the plastic tube in place the next part of this process was, without my knowing one of the most back breaking experiences of my life. In the next posts, any picture with me in it, if you look close enough, you might actually see me weeping. In the bottom picture I am in the background checking if there's enough plaster for the eighty zillion tonnes of grog that I required.

Invest

John preparing to place a large plastic sheet around the work to create the full investment mold


More upright

The plaster is left rough to allow of a 'key' with the next layer of plaster. Below you can see that more runners and risers have been added and a coffee cup. The coffee cup is there to create a wide opening to target the molten bronze into.

Upright


This is the first corner turned on to the flat spot shown earlier. This need to be upright with the far coner being at the bootom to allow the best flow of bronze.

Looks like a cake, doesn't taste like one.


This is the wax now completley covered again using grog. Grog is a ceramic based plaster that ensures a very solid 'investment' mold. There's a flat surface on the bottom corner which will be explained later.


The risers poking out of the grog. More element will be added to this when the complete mold is poured.

Richard Slatter

See No Evil, 2010
Richard Slatter
Go take a look. As mentioned before, this is Richard's site, he's been assisting me on occasions and is something of a major expert when it comes to metal stuff. He's not talking to me at the moment because I lost his 3mm to 3mm audio cable.. he's had to listen to classic FM all week.. (I got him a new one now though)

29.6.11

Nailed it


This is an exercise that feels very strange whilst undertaking it. Those are carpet nails and they're there for a purpose. The wax will eventually disappear when it evaporates in the kiln which will leave a cavity in the mold. Without the nails he whole thing will just fall apart.

The Red Sea


Removed from the first mold, here is corner one of the wax ready to go forward to the next stage. Johns not telling me off in that picture, he's just pointing to something.

Flipped


The whole thing turned over. This was a very exciting part of the process because at the stage I was about to get my first view of the work translated into another material. Stay tuned.

28.6.11

Filled


After filling the under side with grog.

Awaiting grog


The next stage is called investing. A mold is made around the entirety of the wax using a type of plaster called grog. Grog is made up of ceramic powder and fine powder mixed with water, very messy and almost the point that I broke. more about that later

Alien


The runners and risers are cut up into shorter lengths using a hot knife and then constructed into a network. The network works like this: The runners allow the bronze to flow into the piece, the risers allow the excess bronze and gas build up to be released. The pink bits are spots of soft wax used to support the welds between each piece. It looks like the face sucking alien from the movie and the melting rosin burns like its acid blood, my hand looked like a picnic bar after this process.

This is what the runners and risers are made from.

Rosin
I made about a billion runners and riser from a mix of wax and rosin. The smell is so good that this process is addictive. The molten wax is poured on to a granite surface, allowed to cool for a second or two and then mixed with a spatular. Once it takes on a yellow colour it is kneeded in the hand and then rolled like bread sticks on a scraped word surface. Once you have an even and long enough stick it is plunged into cold water to go hard.

A clear explanation of the process so far

Runners and Risers explained

Running up


This process is a bit like rocket science.

Trim


Two molds waxed and here I'm trimming the edges and starting the runner and riser stage.
I'll post a better description of runners and riser later but just for now, those things that look like breadsticks are runners and risers.

Insides


This gory seen is the first layer of wax painted on to the mold. Each layer is about 2mm thick and I put a total of 4. At this point of the process began the burns, in total I must have burnt myself about a million times...ouch.

In reverse


When looking at the mold, it's hard to imagine how the finishe piece will look. It's all back to front.

Wax melting


The wax (top picture) is chucked in a bucket and put on a gas hob to melt. To give it some colour we add a red pigment; bottom picture.

Negative


Plaster mold ready for the next stage, it was really filthy but I didn't take photo's  of that stage.